Pillows add color, pattern and texture to a room. They soften hard edges of furniture and create a much warmer space. They can be elegant or just plain fun.
Since Aiva's all about actual, applicable information in our blogs, we're going to break this down into three areas of pillow-making success:
- General Color Schemes for Your Pillows Based on Your Room Palette
- A Step-By-Step Guide to Making Pillows in General
- Some Cute and Unique DIY Pillow Ideas to be Applied with the Wisdom Gained in Steps 1 and 2
And of course, there will be lots of pictures because that's how we roll.
1. A Pop of Color
Rich and Bold
 |
| Gold adds interest and shine if you are using darker and saturated colors |
Natural
 |
| Green, yellow and brown decorative pillows brighten up a solid tan couch with a natural — but lively — color palette. |
Shades of Vanilla
 |
| If your tend to stick to very light neutrals (whites, creams, tans, etc), give it a splash of bright colors with a rainbow of pillows. |
 |
| These bright turquoise pillows are gorgeous against light and pastel furnishings |
Black and White
 |
| Red (or another bright, solid color) looks great against the black and white backdrop |
Materials and Tools:
pillow form
fabric
trim (if desired)
matching thread
scissors
straight pins
sewing machine
fabric
trim (if desired)
matching thread
scissors
straight pins
sewing machine
Steps:
2. To create the front of the pillow cover, cut one piece of fabric the same size as the pillow form (If you plan on being able to wash it, please pre-shrink your fabric before you do this). Because the fabric should fit snugly over the pillow form, this measurement includes a half-inch seam allowance. If the pillow form is very firm, it may be necessary to add an inch to both the length and the width of the pillow.
3. To create the back of the pillow cover, cut one piece of fabric the same width as the front piece of the pillow and 4 inches longer than the length of the pillow front. Fold the piece in half lengthwise and cut along the fold. Turn this edge, which measures the same as the width of the pillow, under a quarter-inch and press. So that no raw edges will be exposed, turn under again and stitch. Repeat with the other back piece. (If the fabric you've chosen is very thick or stiff, you may want to cut the back piece of fabric exactly the same size as the front. This pillow cover will not be easily removed, as it will be slip-stitched closed.)
 |
| Or a pillow |
4. If you're using a trim, attach it in this manner: With raw edges together and beginning in the middle of a side, place the trim so that 1 inch extends beyond the seam allowance and is against the right side of the pillow front. Pin in place. When the ends of the trim meet, the second end should also be extended 1 inch into the seam allowance. Sewing very closely to the trim, use your zipper foot to sew the trim in place.
5. Lay down the pillow top with the trim side up. With right sides together, lay half the pillow back on the pillow front and pin in place. Pin the other half of the pillow back in place. The two pillow backs will overlap each other by 1½ inches. Using the stitching line that attached the trim as a guide, stitch the back and the front together. (If the back of your pillow is a single piece of fabric, sew as directed, but leave an opening into which your pillow form can be inserted.) Trim the excess fabric from the corners.
6. Turn the pillow cover right side out and insert the pillow form. Slip-stitch closed if necessary.
You Can Do It, You Can Do It Yourself
As I'm sure you know, there are millions of pillow ideas out there, but here are a few to get your wheels turning:
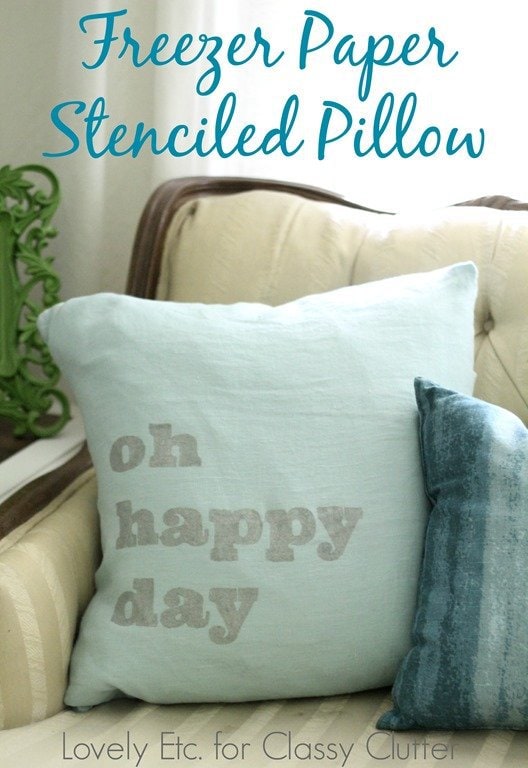 |
| On Classy Clutter |
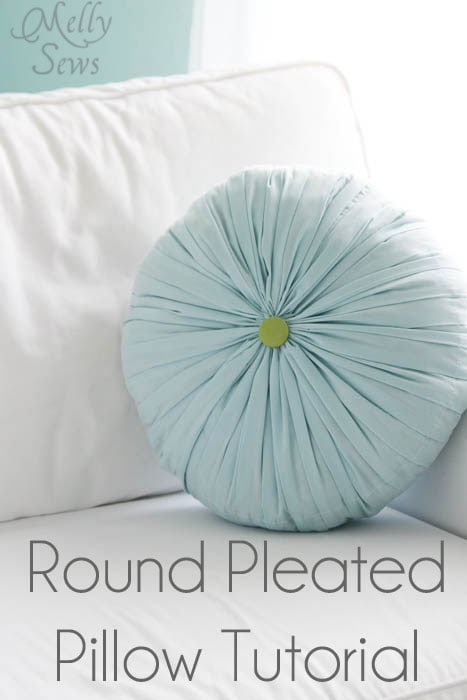 |
| On Melly Sews |
 |
| On Better Homes and Gardens |
 |
| On Better Homes and Gardens |
 |
| On Better Homes and Gardens |
 |
| On Better Homes and Gardens |
 |
| On Better Homes and Gardens |
I could go on and on, but instead, check out more ideas on Pinterest and remember, we'd love to see your great DIY projects, so feel free to comment.
Thanks to HGTV for some of this content.